【動作環境】
<パソコン>
機種:MacBook Air(13inch)
OS:macOS Sonoma(ver.14.5)
チップ:Apple M3
シェル:zsh
<ソフトウェア>
・Flutter(ver.3.22.3)
・Xcode(ver.15.4)
・CocoaPods(ver.1.15.2)
・Android Studio(ver.2024.1)
・Visual Studio Code(ver.1.92.0)
今回は、Flutterでテキストを表示する方法について解説します。
1. サンプルコードが入力された状態をつくる
まずは、main.dartに以下のコードを書き込みましょう。
import 'package:flutter/material.dart';
void main() {
runApp(const MyApp());
}
class MyApp extends StatelessWidget {
const MyApp({super.key});
@override
Widget build(BuildContext context) {
return MaterialApp(
title: 'Flutter Demo',
theme: ThemeData(
colorScheme: ColorScheme.fromSeed(seedColor: Colors.deepPurple),
useMaterial3: true,
),
home: const MyHomePage(title: 'Flutter Demo Home Page'),
);
}
}
class MyHomePage extends StatefulWidget {
const MyHomePage({super.key, required this.title});
final String title;
@override
State<MyHomePage> createState() => _MyHomePageState();
}
class _MyHomePageState extends State<MyHomePage> {
int _counter = 0;
void _incrementCounter() {
setState(() {
_counter++;
});
}
@override
Widget build(BuildContext context) {
return Scaffold(
appBar: AppBar(
backgroundColor: Theme.of(context).colorScheme.inversePrimary,
title: Text(widget.title),
),
body: Center(
child: Column(
mainAxisAlignment: MainAxisAlignment.center,
children: <Widget>[
const Text(
'You have pushed the button this many times:',
),
Text(
'$_counter',
style: Theme.of(context).textTheme.headlineMedium,
),
],
),
),
floatingActionButton: FloatingActionButton(
onPressed: _incrementCounter,
tooltip: 'Increment',
child: const Icon(Icons.add),
),
);
}
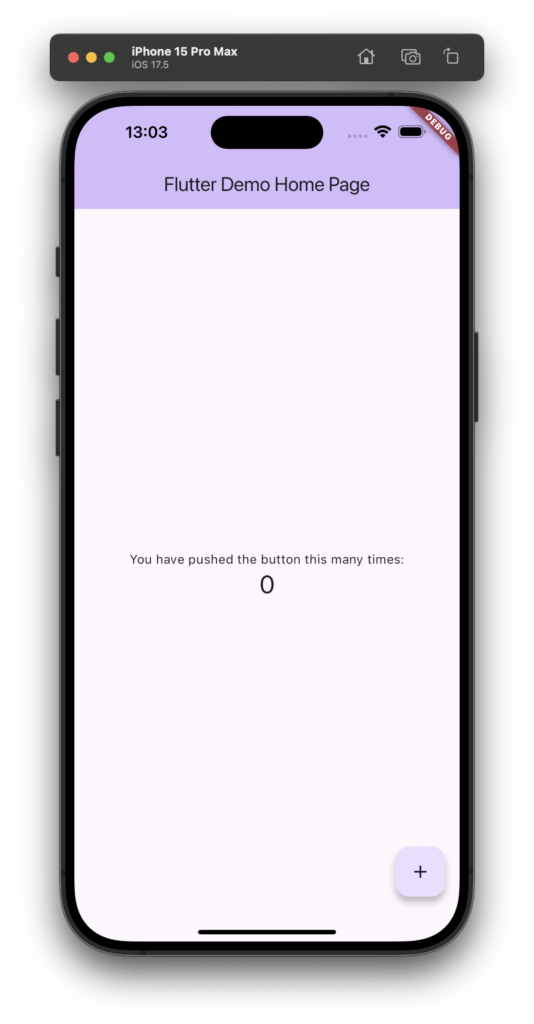
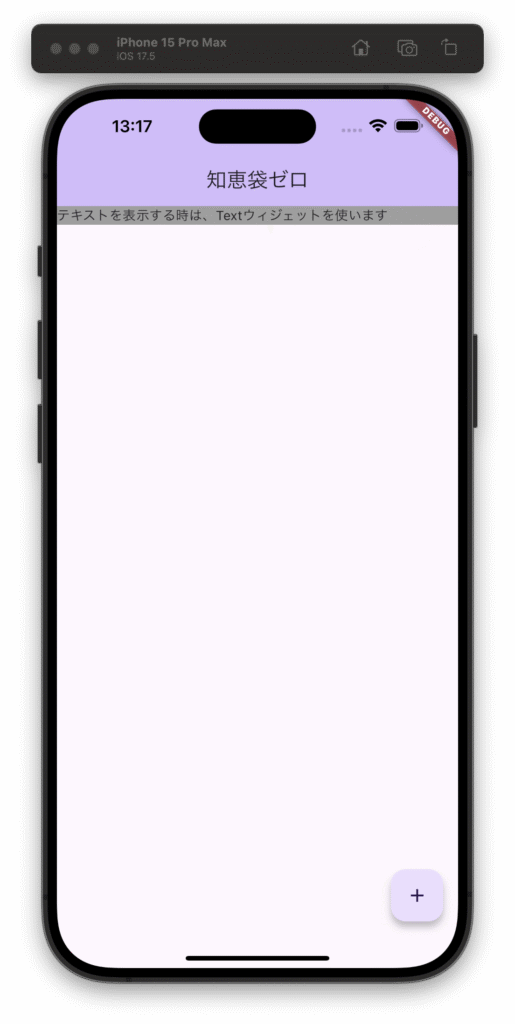
}iOSシミュレーターで実行すると、以下のようになります。
2. テキストを表示する
Flutterでテキストを表示するためには、「Textウィジェット」を使用します。
実際に、Textウィジェットを用いて、テキストを表示してみましょう。
2-1. AppBarのタイトルを変更する
AppBarウィジェットのtitleプロパティにTextウィジェットを設置することで、AppBarのタイトルを表示することができます。
すでに、Textウィジェットが設置されているので、ウィジェットの中身を変えてみましょう。
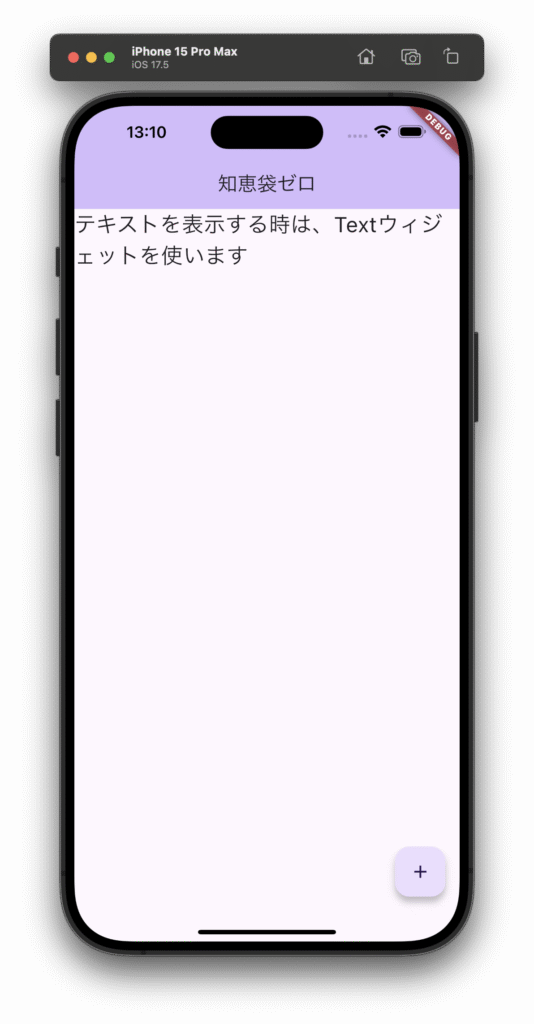
title: Text(widget.title), title: const Text('知恵袋ゼロ'),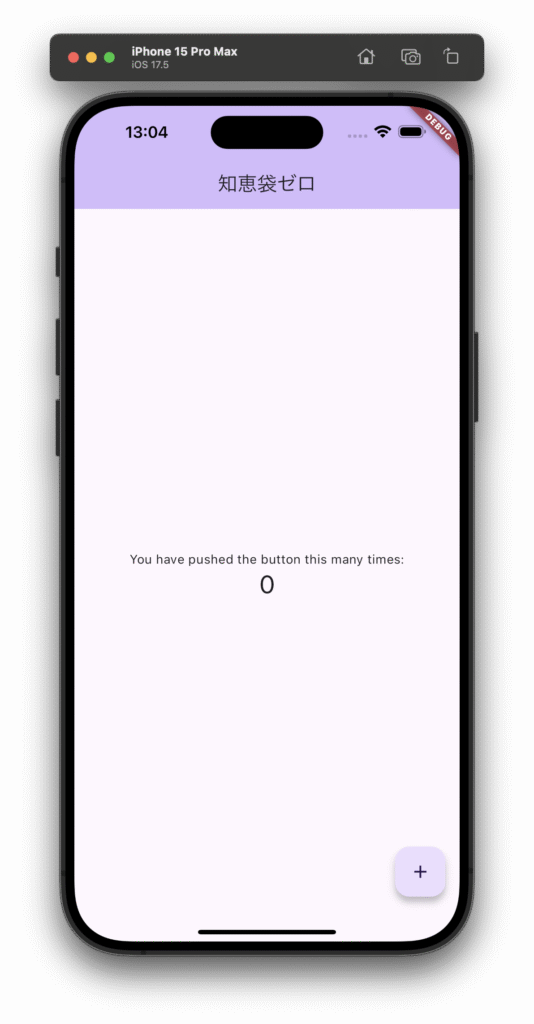
文字列を入力する際は、「’(クォーテーション)」で囲むようにしましょう。
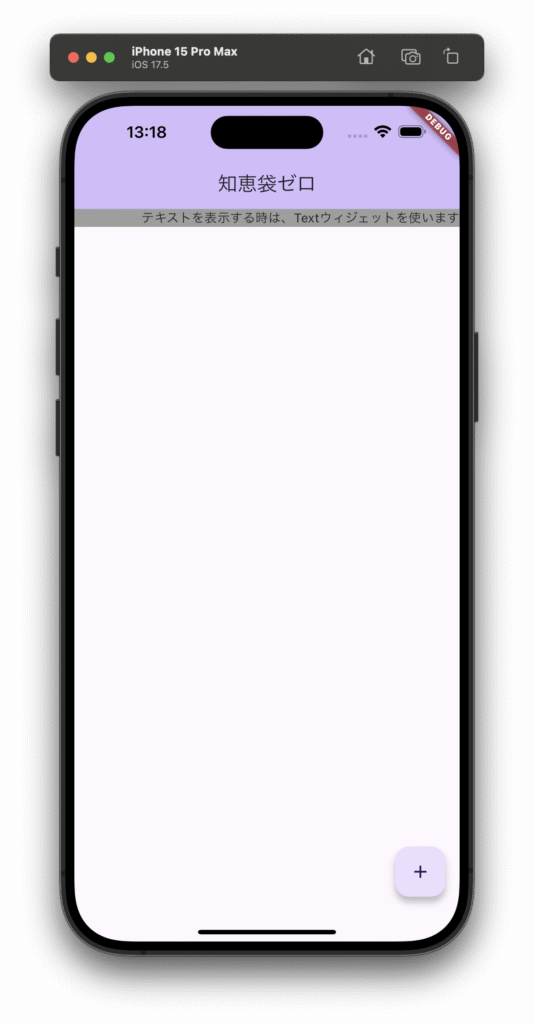
2-2. Bodyのテキストを変更する
次に、Scaffoldウィジェットのbodyプロパティに設置したウィジェットを書き換えてみましょう。
      body: Center(
        child: Column(
          mainAxisAlignment: MainAxisAlignment.center,
          children: <Widget>[
            const Text(
              'You have pushed the button this many times:',
            ),
            Text(
              '$_counter',
              style: Theme.of(context).textTheme.headlineMedium,
            ),
          ],
        ),
), body: const Text('テキストを表示する時は、Textウィジェットを使います'),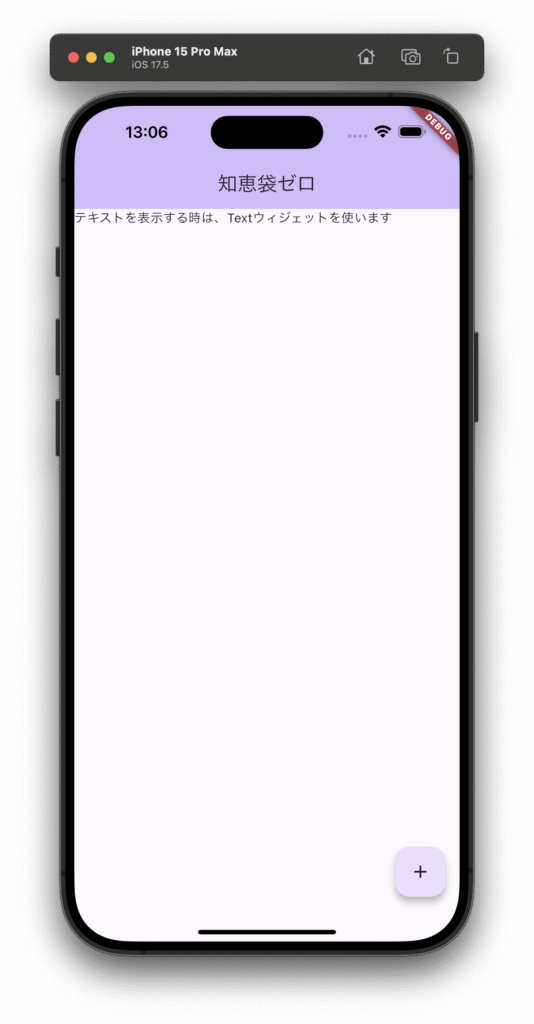
テキストの値は、基本的に変化しないため、「const」という定数を示す修飾子をTextウィジェットの前につけます。
そうすることで、アプリの動作が若干早くなります。
つけない場合は注意メッセージが表示されますが、動作上に問題はありません。
3. テキストのスタイルを変更する
Textウィジェットでは、styleプロパティにTextStyleウィジェットを設置することで、文字の大きさや色、太さなどを変更することができます。
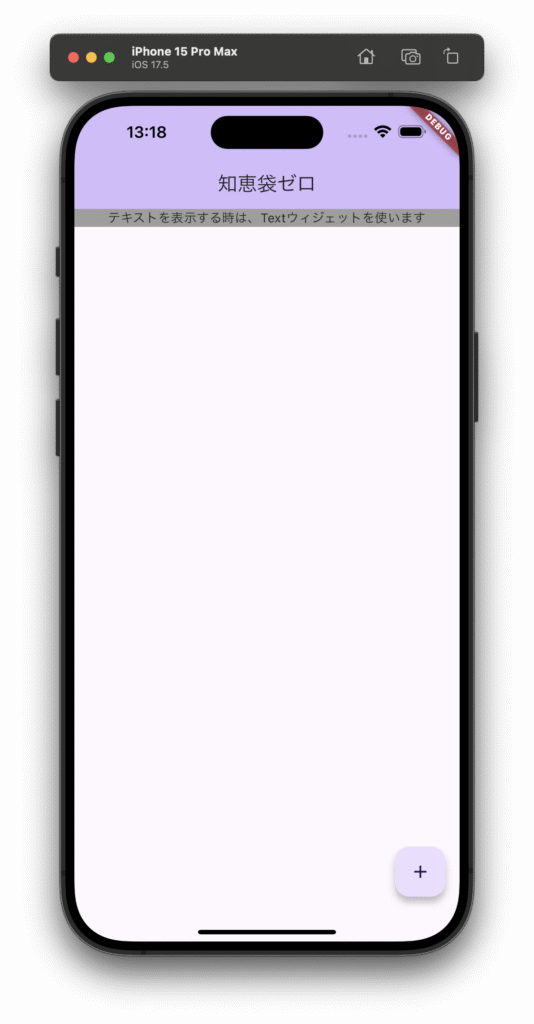
3-1. 文字の大きさを変更する
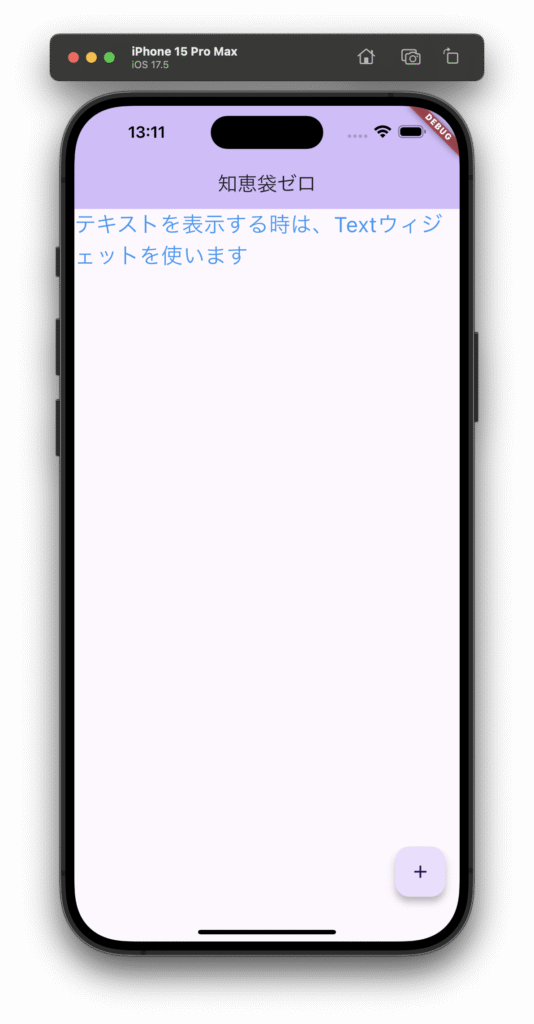
TextStyleウィジェットにfontSizeプロパティ設置して、値を入力します。
body: const Text('テキストを表示する時は、Textウィジェットを使います'), body: const Text(
'テキストを表示する時は、Textウィジェットを使います',
style: TextStyle(fontSize: 24),
),
3-2. 文字色を変更する
TextStyleウィジェットにcolorプロパティ設置します。
そして、Colorsウィジェットにblueプロパティを設置します。
      body: const Text(
        'テキストを表示する時は、Textウィジェットを使います',
        style: TextStyle(fontSize: 24),
), body: const Text(
'テキストを表示する時は、Textウィジェットを使います',
style: TextStyle(
fontSize: 24,
color: Colors.blue,
),
),
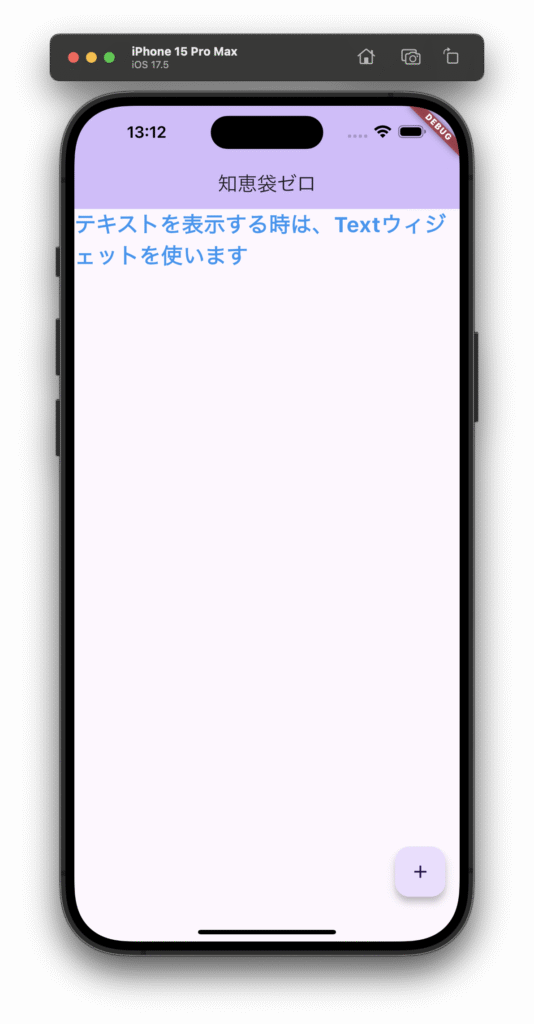
3-3. 文字の太さを変更する
TextStyleウィジェットにfontWeightプロパティ設置します。
そして、FontWeightウィジェットにboldプロパティを設置します。
      body: const Text(
        'テキストを表示する時は、Textウィジェットを使います',
        style: TextStyle(
          fontSize: 24,
          color: Colors.blue,
        ),
), body: const Text(
'テキストを表示する時は、Textウィジェットを使います',
style: TextStyle(
fontSize: 24,
color: Colors.blue,
fontWeight: FontWeight.bold,
),
),
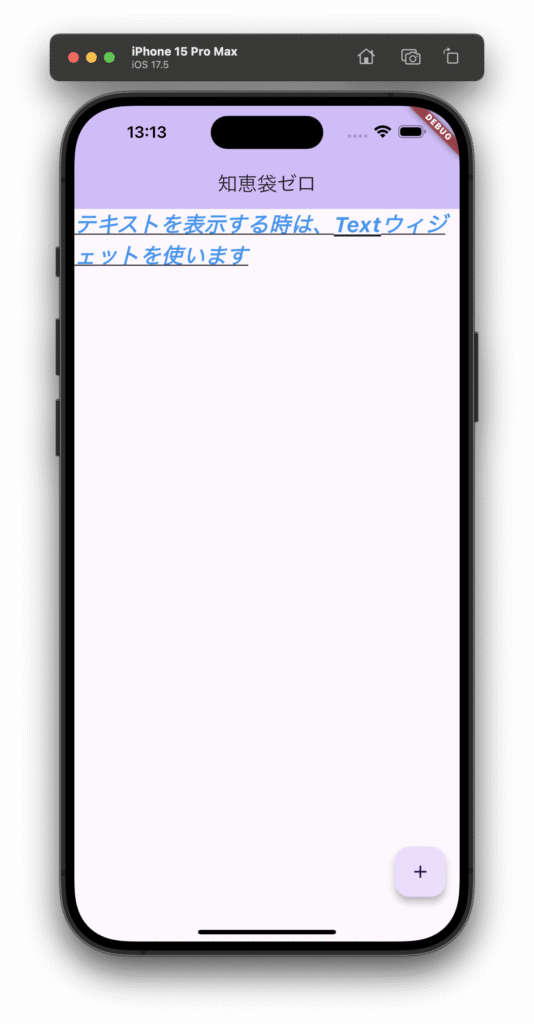
3-4. 文字をイタリックにする
TextStyleウィジェットにfontStyleプロパティ設置します。
そして、FontStyleウィジェットにitalicプロパティを設置します。
      body: const Text(
        'テキストを表示する時は、Textウィジェットを使います',
        style: TextStyle(
          fontSize: 24,
          color: Colors.blue,
          fontWeight: FontWeight.bold,
        ),
), body: const Text(
'テキストを表示する時は、Textウィジェットを使います',
style: TextStyle(
fontSize: 24,
color: Colors.blue,
fontWeight: FontWeight.bold,
fontStyle: FontStyle.italic,
),
),
3-5. 文字にアンダーラインを追加する
TextStyleウィジェットにdecorationプロパティ設置します。
そして、TextDecorationウィジェットにunderlineプロパティを設置します。
      body: const Text(
        'テキストを表示する時は、Textウィジェットを使います',
        style: TextStyle(
          fontSize: 24,
          color: Colors.blue,
          fontWeight: FontWeight.bold,
          fontStyle: FontStyle.italic,
        ),
), body: const Text(
'テキストを表示する時は、Textウィジェットを使います',
style: TextStyle(
fontSize: 24,
color: Colors.blue,
fontWeight: FontWeight.bold,
fontStyle: FontStyle.italic,
decoration: TextDecoration.underline,
),
),
4. テキストの位置を変更する
4-1. テキストの位置変更は、ContainerウィジェットでTextウィジェットを包む必要がある
先ほどは、Textウィジェットにstyleプロパティを設置して、そこにTextStyleウィジェットを設置して、テキストの装飾を行いました。
次は、TextウィジェットにtextAlignプロパティを設置して、そこにTextAlignウィジェット設置して、テキストの配置を変更していきます。
ただ、TextAlignウィジェットを設置するだけでは、変化がわかりにくいので、TextウィジェットをContainerウィジェットで包みます。
以下のように47行目以下の部分を書き換えます。
      body: const Text(
        'テキストを表示する時は、Textウィジェットを使います',
), body: Container(
width: double.infinity,
color: Colors.grey,
child: const Text(
'テキストを表示する時は、Textウィジェットを使います',
),
),
■簡単にウィジェットを別のウィジェットで包む方法
【手順解説】
1: Textウィジェットに入力カーソルをおきます。
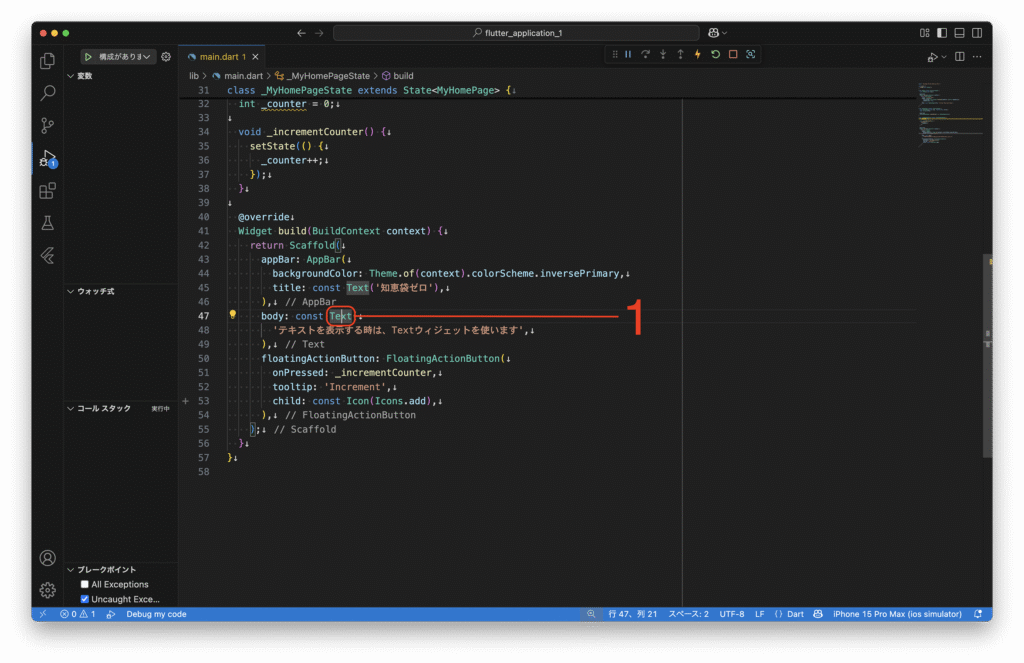
2: その状態で、command+,キーを押し、[Wrap with Container]をクリックします。
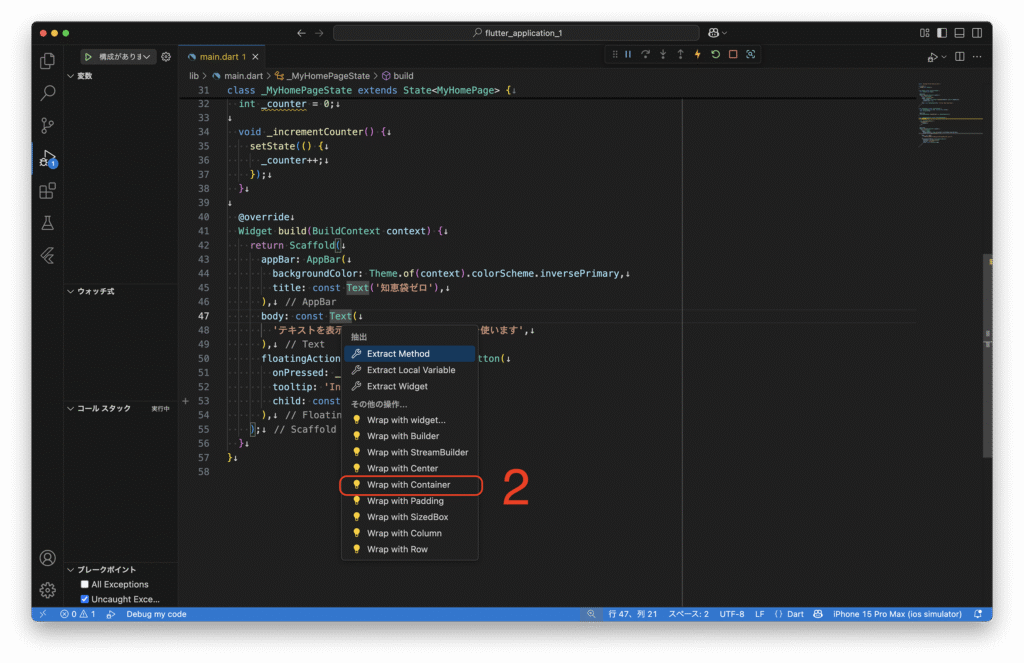
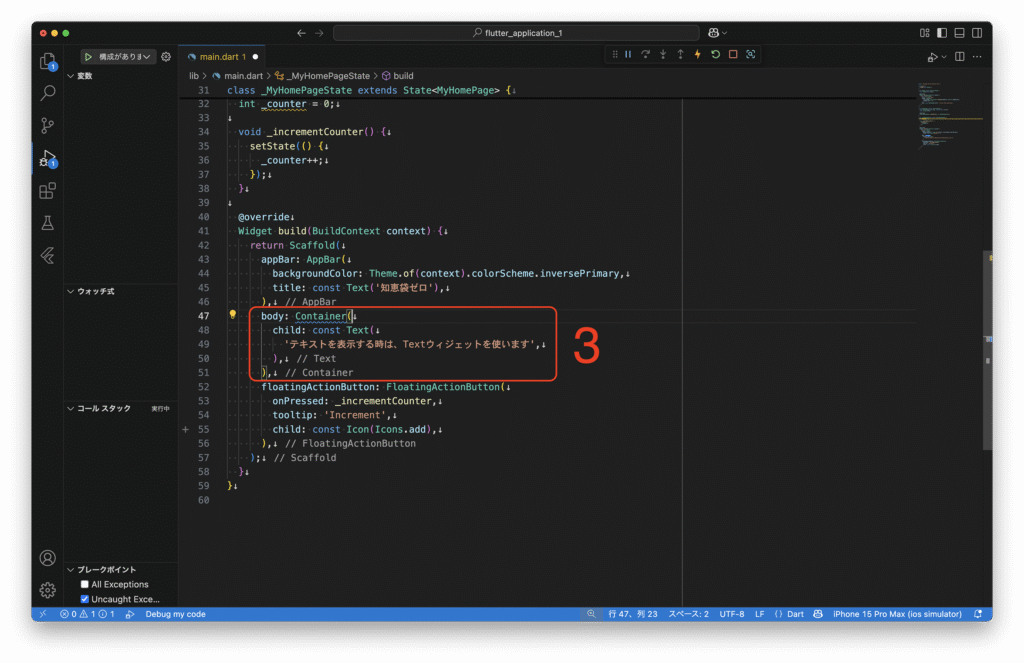
3: ContainerウィジェットでTextウィジェットが包み込まれます。
4-2. 右寄せにする
TextウィジェットにtextAlignプロパティ設置します。
そして、TextAlignウィジェットを設置し、rightプロパティを設置します。
      body: Container(
        width: double.infinity,
        color: Colors.grey,
        child: const Text(
          'テキストを表示する時は、Textウィジェットを使います',
        ),
), body: Container(
width: double.infinity,
color: Colors.grey,
child: const Text(
'テキストを表示する時は、Textウィジェットを使います',
textAlign: TextAlign.right,
),
),
4-3. 中央寄せにする
TextAlignウィジェットにcenterプロパティを設置します。
      body: Container(
        width: double.infinity,
        color: Colors.grey,
        child: const Text(
          'テキストを表示する時は、Textウィジェットを使います',
          textAlign: TextAlign.right,
        ),
), body: Container(
width: double.infinity,
color: Colors.grey,
child: const Text(
'テキストを表示する時は、Textウィジェットを使います',
textAlign: TextAlign.center,
),
),
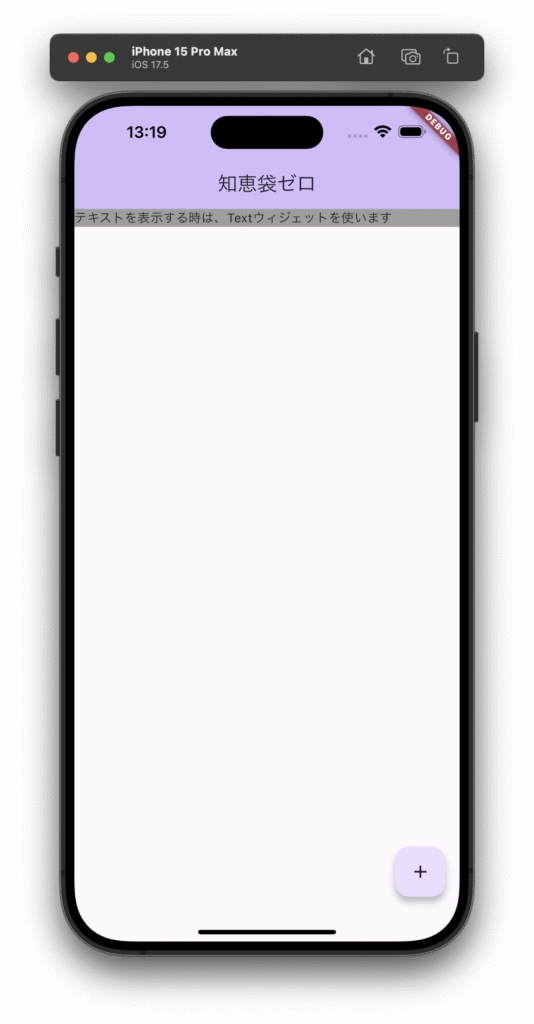
4-4. 左寄せにする
TextAlignウィジェットにleftプロパティを設置します。
      body: Container(
        width: double.infinity,
        color: Colors.grey,
        child: const Text(
          'テキストを表示する時は、Textウィジェットを使います',
          textAlign: TextAlign.center,
        ),
), body: Container(
width: double.infinity,
color: Colors.grey,
child: const Text(
'テキストを表示する時は、Textウィジェットを使います',
textAlign: TextAlign.left,
),
),
5. まとめ
この記事では、Flutterを使ったテキスト表示の基本について解説しました。以下のポイントを取り上げました。
- AppBarとBodyのテキスト表示:基本的なテキストの表示方法と変更方法を学びました。
- テキストスタイルの変更:文字サイズや色、太さ、装飾をカスタマイズする方法を学びました。
- コンテナ内でのテキスト配置:ContainerウィジェットとTextAlignウィジェットを組み合わせて、テキストの配置を変更する方法を学びました。
これらの知識を活用して、アプリのテキスト表示をより魅力的にデザインしてみてください。
ウィジェットをさらに使いこなすことで、様々な表現が可能になります。
【shimaセレクト】
■おすすめ書籍①
●対象者
▶︎プログラミング未経験者
▶︎Flutterを触ったことのない方
■おすすめ書籍②
●対象者
▶︎Webアプリ開発経験者
▶︎Flutterを触ったことのない方
コメント