-1.png)
【動作環境】
<パソコン>
機種:MacBook Air(13inch)
OS:macOS Sonoma(ver.14.6.1)
チップ:Apple M3
<ソフトウェア>
・Z Shell(ver.5.9)
・ターミナル(ver.2.14)
・Flutter(ver.3.35.6)
・Xcode(ver.16.2)
・CocoaPods(ver.1.16.2)
・Android Studio(ver.17.0.11)
・Visual Studio Code(ver.1.104.3)
-300x158.png)
本記事では、Flutterでアプリを作成する方法について解説します。
1. プロジェクトの作成方法
【手順解説】
1: [Visual Studio Code]を起動します。

2: 以下のコマンドキーを押して、コマンドパレットを開きます。
Mac:command+shift+P
Windows:Ctrl+Shift+P
3: コマンドパレッドに、「flutter」と入力します。
4: [Flutter:New Project]をクリックします。

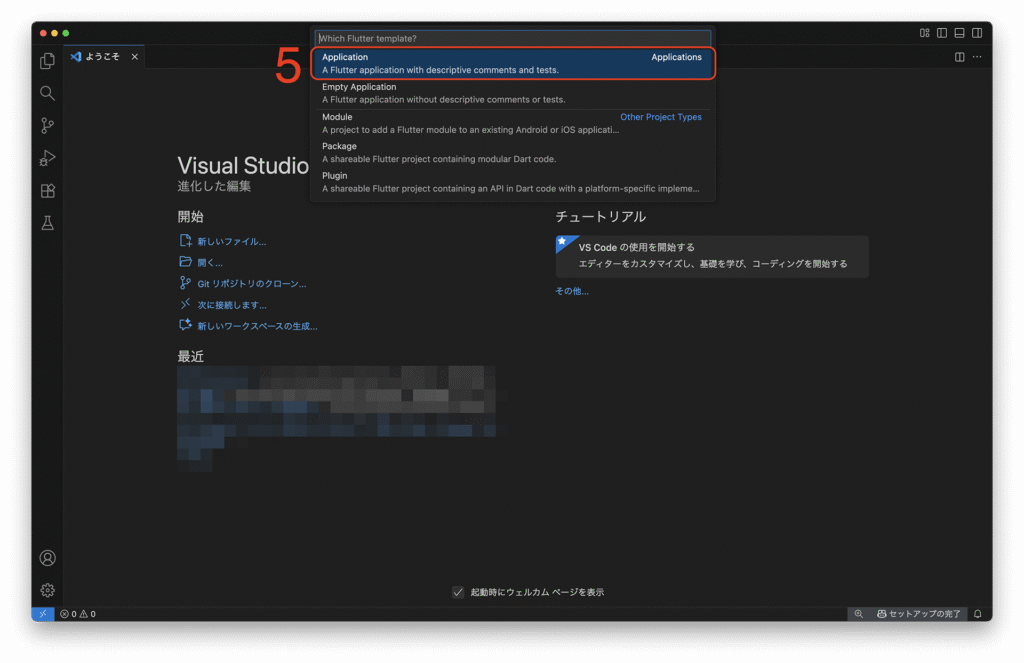
5: [Application]をクリックします。
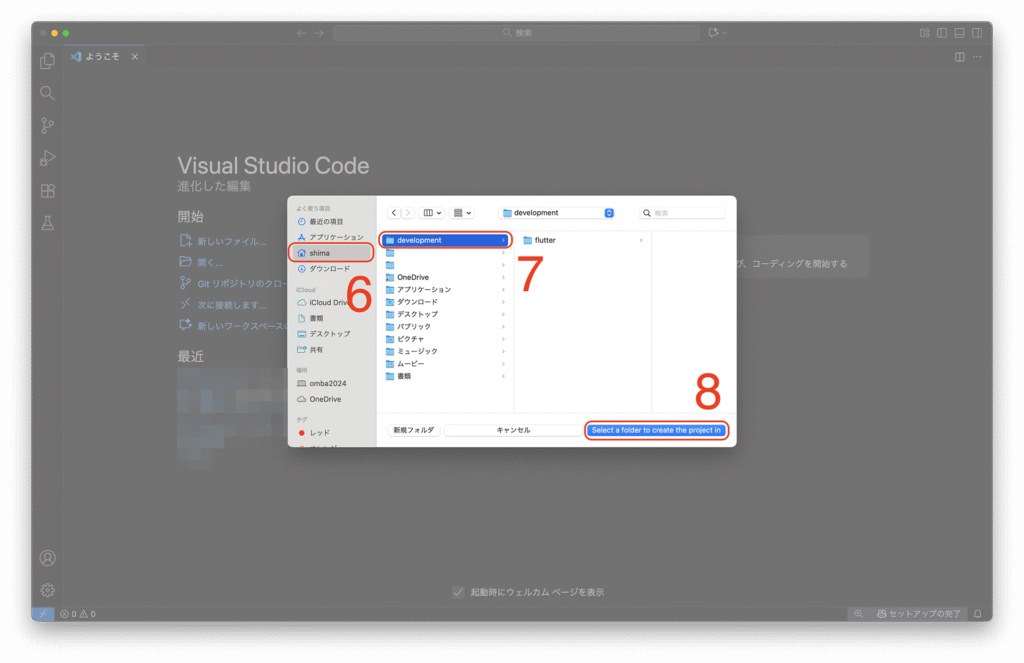
6: Macのホームディレクトリをクリックします。
7: 自分が新規プロジェクトを格納するディレクトリをクリックします。
今回は、developmentを作成し、そこに格納することにしました。
すでに格納されているflutterは、前回インストールしたFlutter SDKです。
8: [Select a folder to create the project in]ボタンをクリックします。
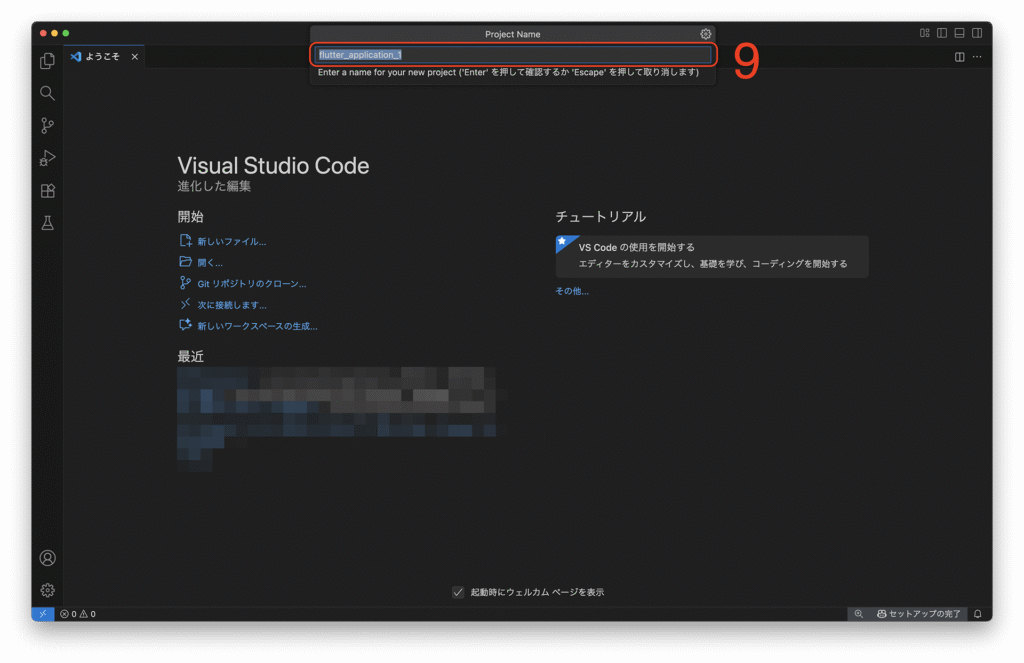
9: プロジェクト名が表示されるので、適宜変更して、enterキーを押します。
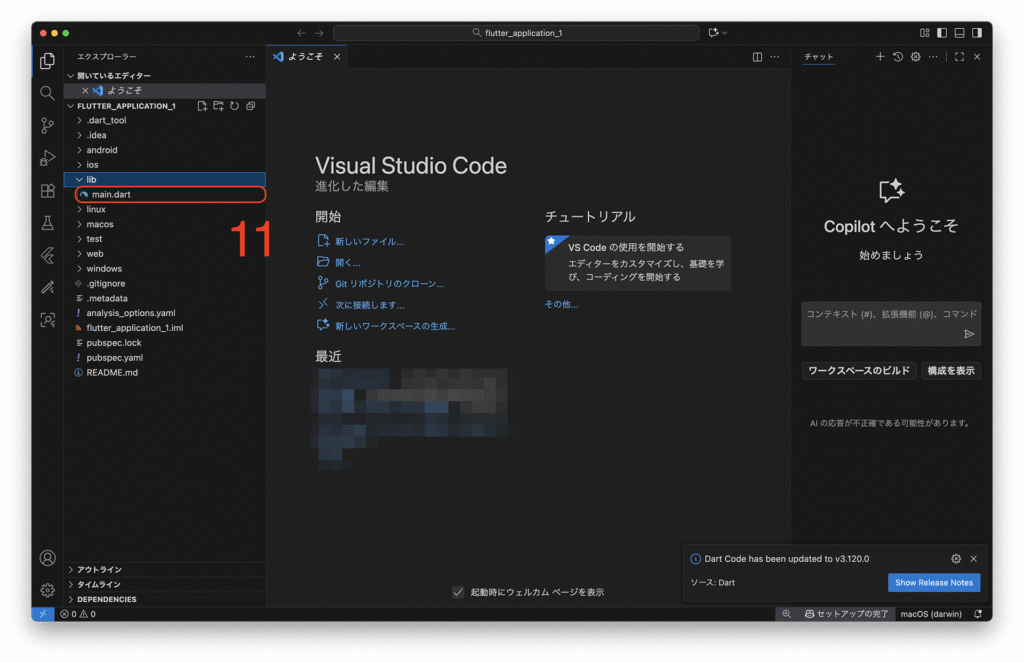
10: libをクリックします。
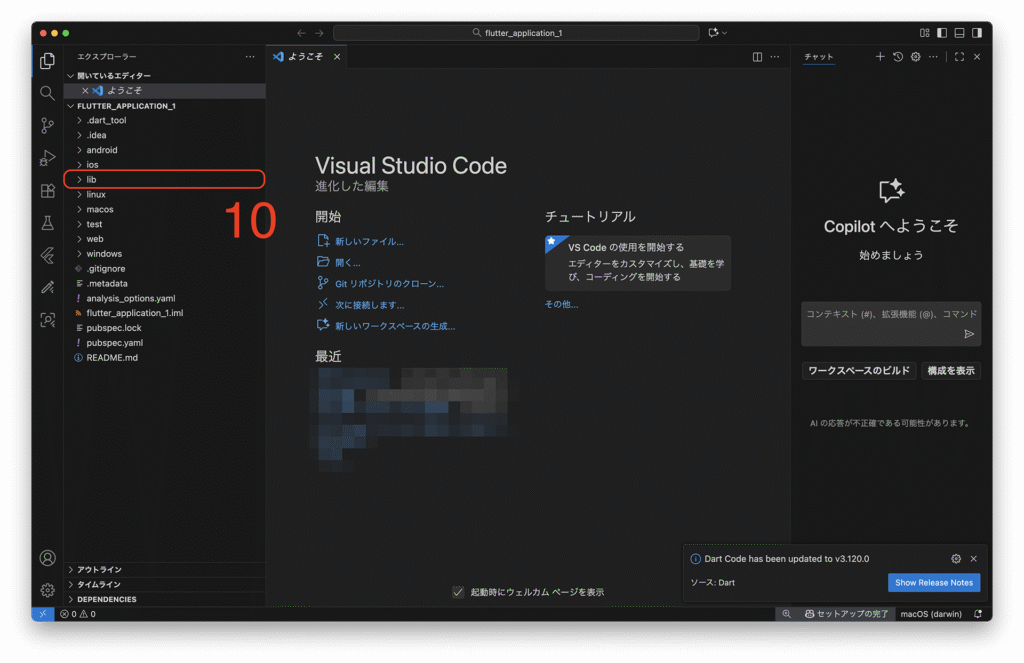
11: main.dartをクリックします。
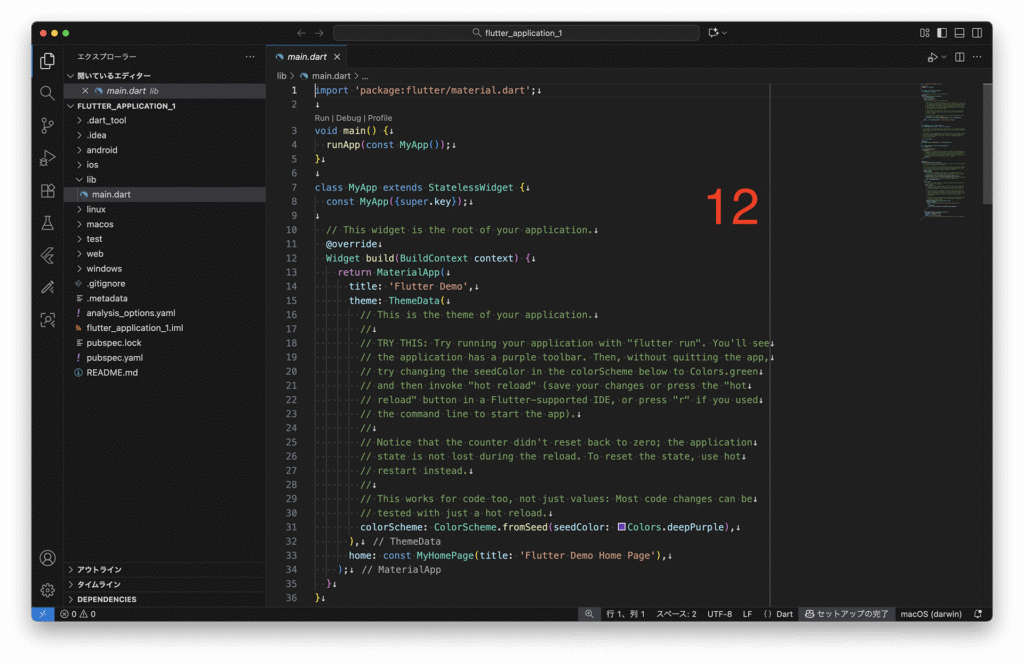
12: ここにコードを書いてアプリを開発していきます。
2. Web上で作成したアプリを実行する
【手順解説】
1: 以下のコマンドキーを押して、コマンドパレットを開きます。
Mac:command+shift+P
Windows:Ctrl+Shift+P
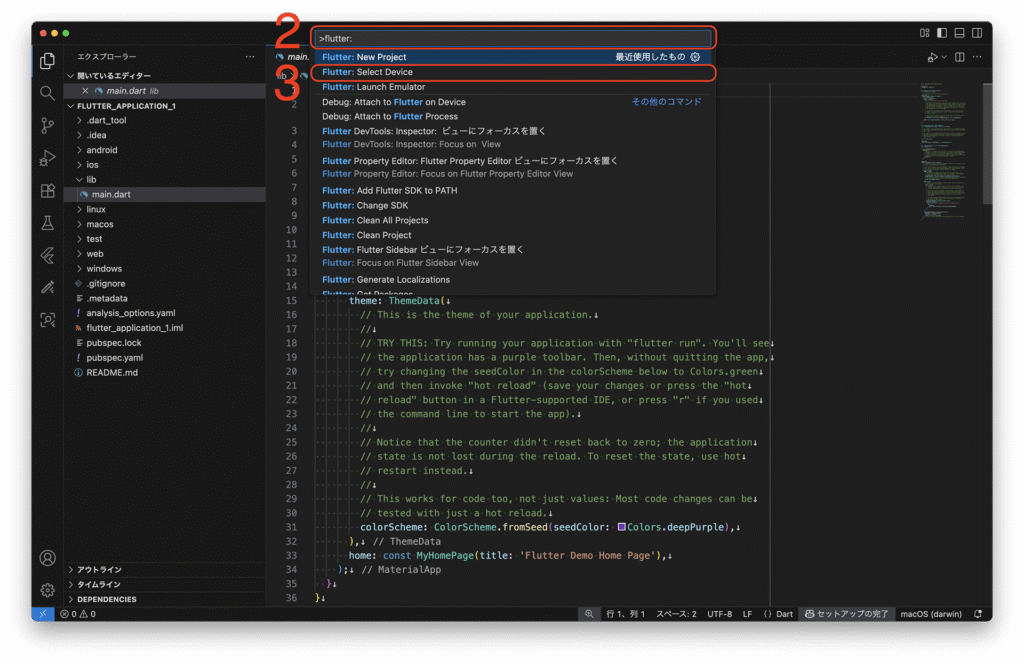
2: コマンドパレッドに、「flutter:」と入力します。
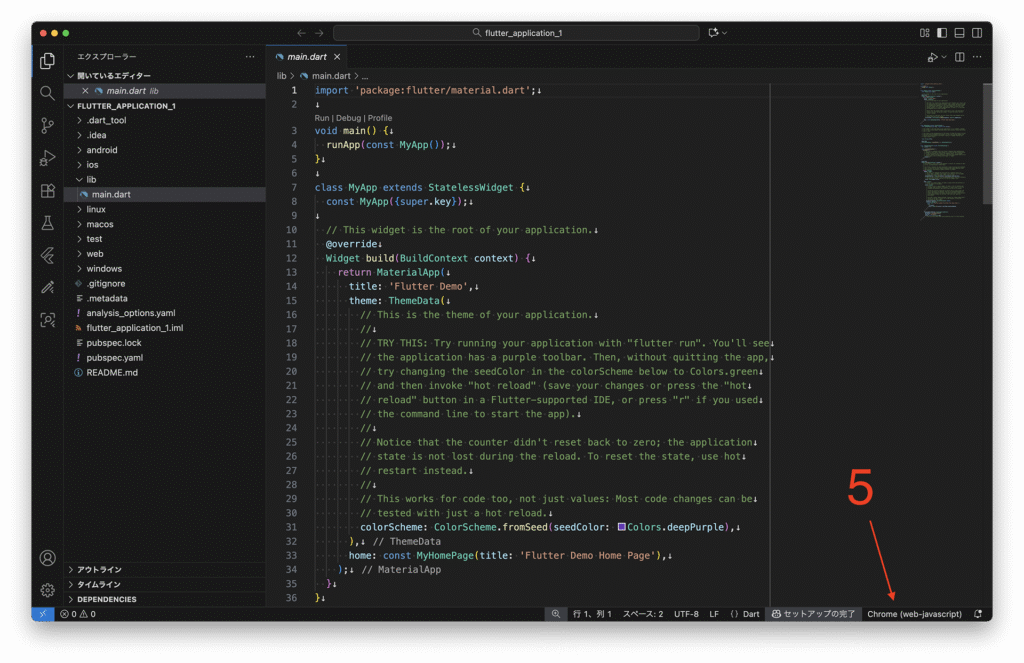
3: [Flutter:Select Device]をクリックします。
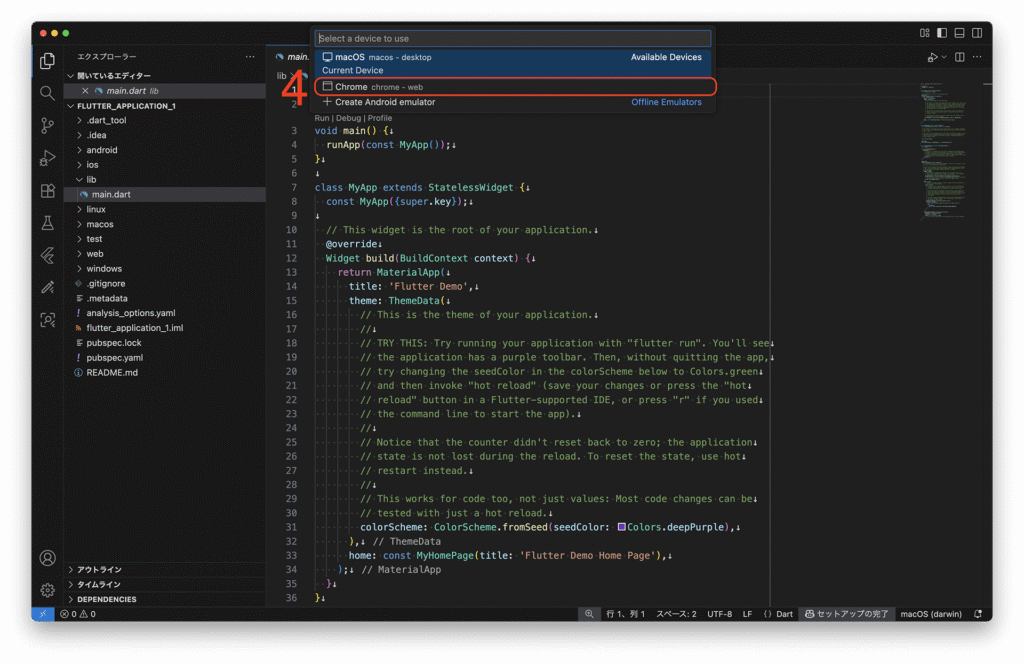
4: [Chrome]をクリックします。
5: 作成したアプリの実行環境がChromeになるので、F5キーを押します。
6: デバッグが開始されます。
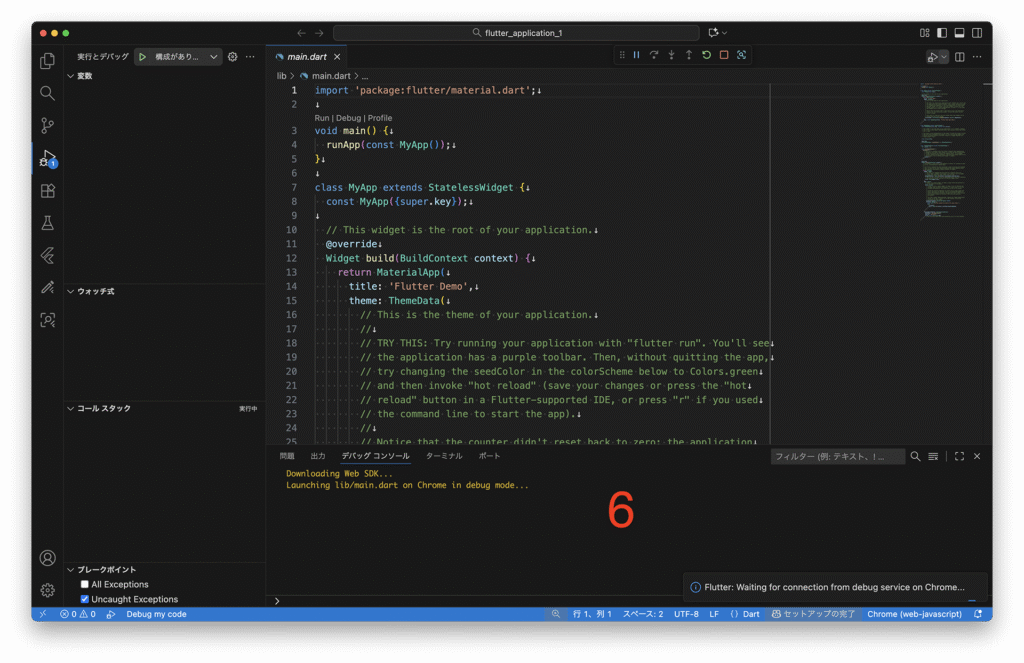
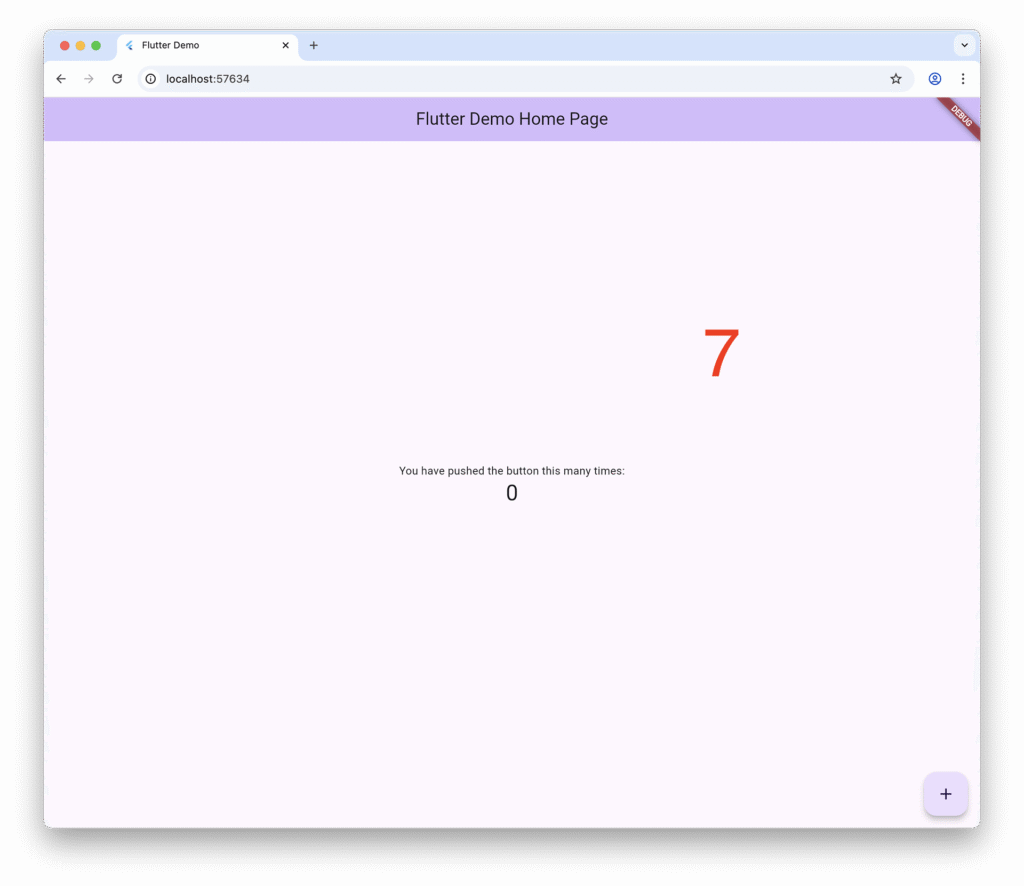
7: Chrome上で作成したアプリが動きます。
3. ホットリロード機能を利用する
Flutterのホットリロード機能は、アプリを再起動せずにコード変更を即座に反映できる便利な機能です。
画面の状態を保持したまま、UIの修正やロジックの微調整をすぐに確認できます。
これにより、開発効率が大幅に向上し、デザインや動作の試行錯誤が容易になります。
主にデバッグモードで利用でき、rキーやVS Codeのボタン操作で実行可能です。
ただし、アプリ構造全体の変更にはホットリスタートが必要になる場合があります。
【手順解説】
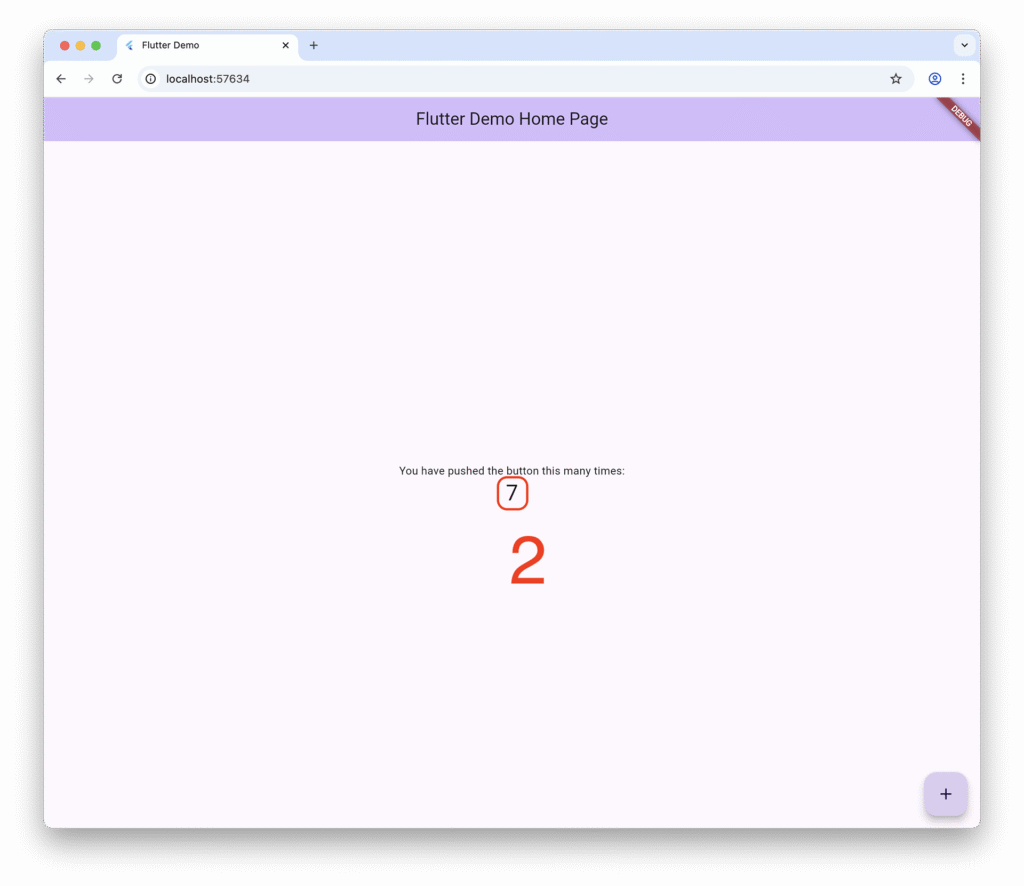
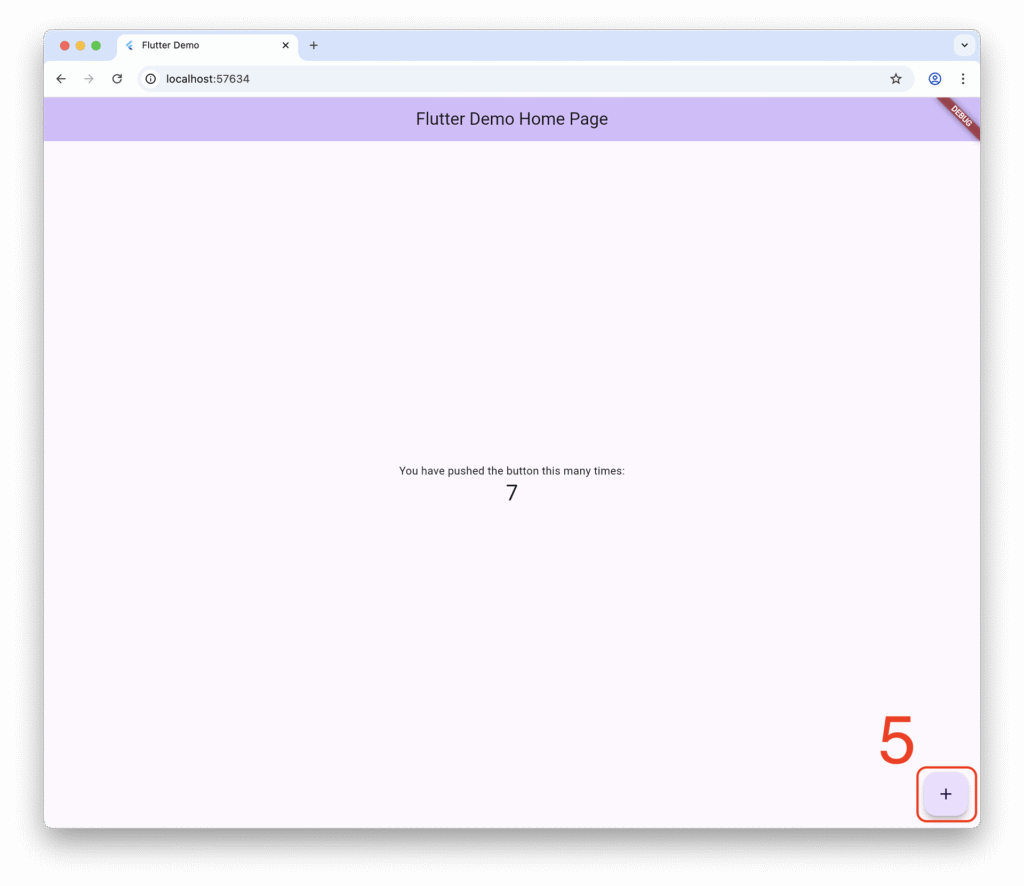
1: Chrome上で動かしているアプリの[Increment]ボタンを複数回クリックします。
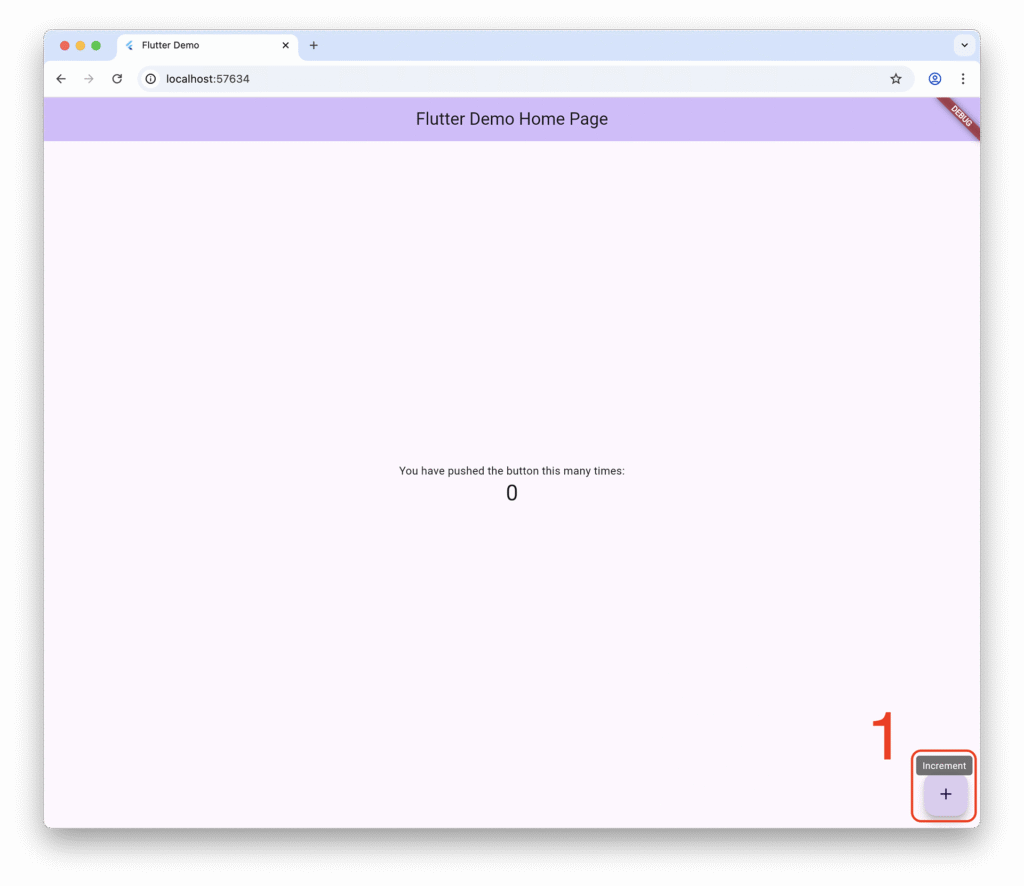
2: クリックした数だけ、表示される数字が大きくなります。
3: main.dartに戻り、59行目から68行目を以下のように書き換えます。
  void _incrementCounter() {
    setState(() {
      // This call to setState tells the Flutter framework that something has
      // changed in this State, which causes it to rerun the build method below
      // so that the display can reflect the updated values. If we changed
      // _counter without calling setState(), then the build method would not be
      // called again, and so nothing would appear to happen.
      _counter++;
    });
} void _incrementCounter() {
setState(() {
// This call to setState tells the Flutter framework that something has
// changed in this State, which causes it to rerun the build method below
// so that the display can reflect the updated values. If we changed
// _counter without calling setState(), then the build method would not be
// called again, and so nothing would appear to happen.
_counter--;
});
}4: 書き換えたら、command+Sキーを押します。
5: Chrome上で動かしているアプリに戻り、[Increment]ボタンを再度複数回クリックします。
6: クリックした数だけ、表示される数字が小さくなります。
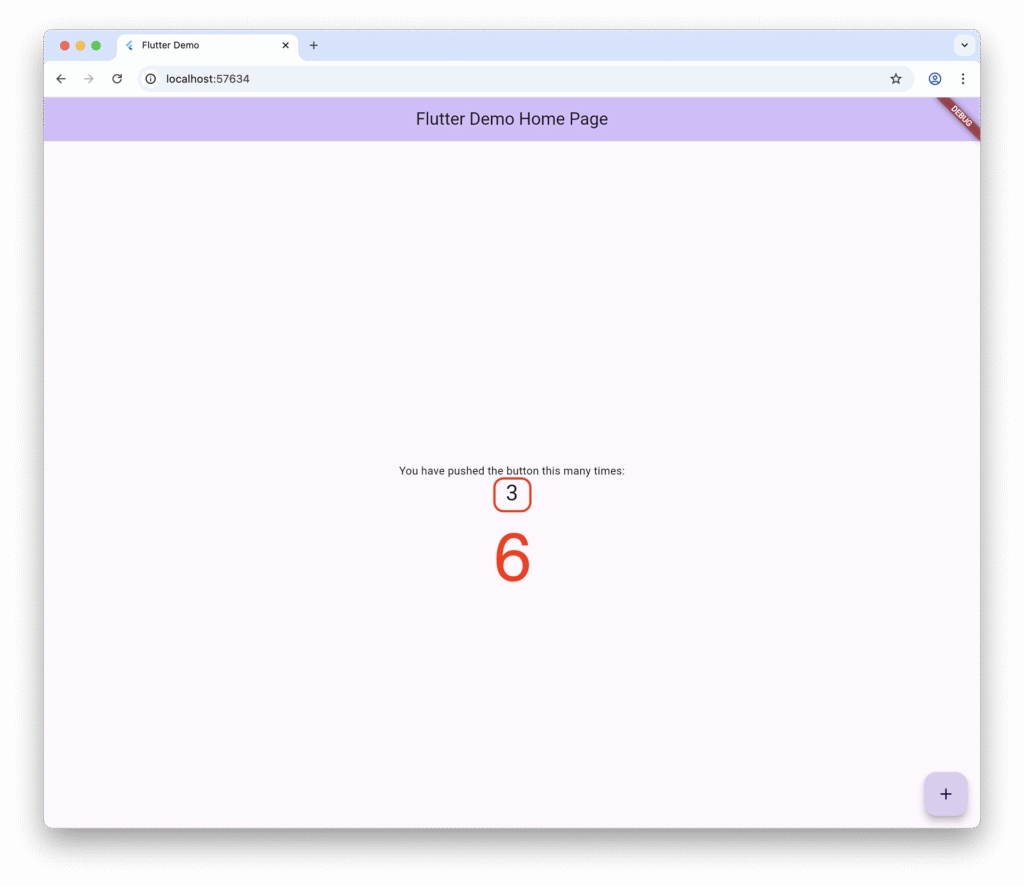
このように、コードを書き換えてcommand+Sキーをおして保存するだけで、変更したプログラムが即座に動かしているアプリに反映されるのです。
これにて、Flutterでアプリを作成する方法についての解説を終わります。
-300x158.png)
【アキラ ナカモトの技術書セレクト】
■Flutterで始めるはじめてのモバイルアプリ開発(技術評論社)
●対象読者
▶︎Webアプリ開発経験者
▶︎Flutterを触ったことのない方
コメント